Geography Based Audiences
This section describes the steps and features for designing location based audiences.
Geography based audiences enable marketers to derive audiences based on geographical location activity in the real world. The Audience Builder supports four geographical perspectives:
- Polygons - custom defined boundaries
- City / State - mobile devices with location activity within a City or State
- Postal Code - mobile devices with location activity within a postal code
- Congressional Districts - mobile devices with location activity within a U.S. Congressional District.
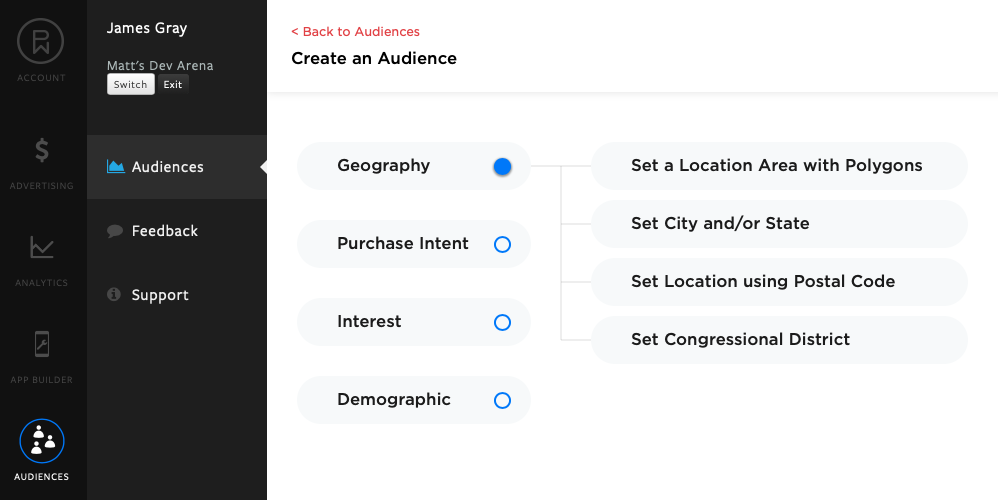
Audience Design Using Polygons
Select "Set a Location Area with Polygons" to initiate the polygon design. This will navigate you to a map-based view for configuring one or more polygon boundaries each with a unique date range.
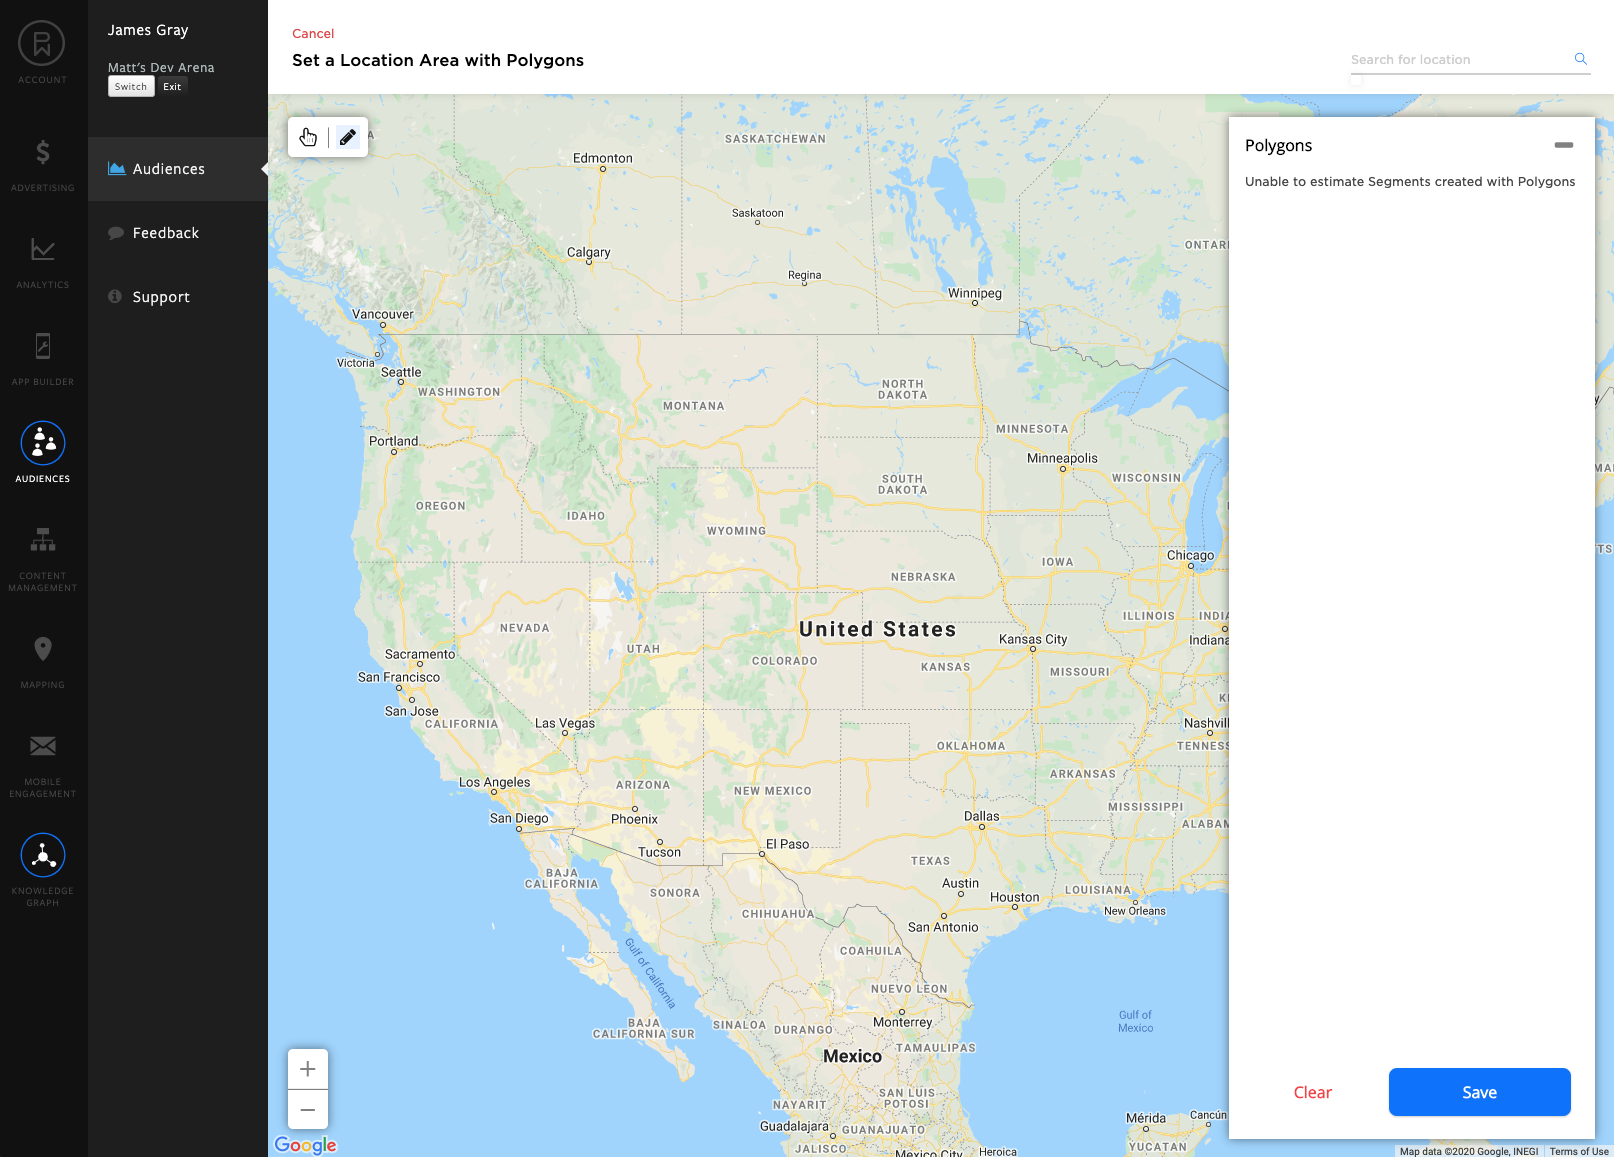
The mouse or the "+/-" in the lower-left corner can be used to zoom in or out of the map. When the "hand" icon is enabled in the upper-left, this enables map scrolling. When you are ready to start configuring a polygon boundary, click on the "pencil" icon. This will transition the cursor into crosshairs for selecting the points that define the boundary.
Click on the map to select the points that define the polygon. This will color the polygon surface blue.
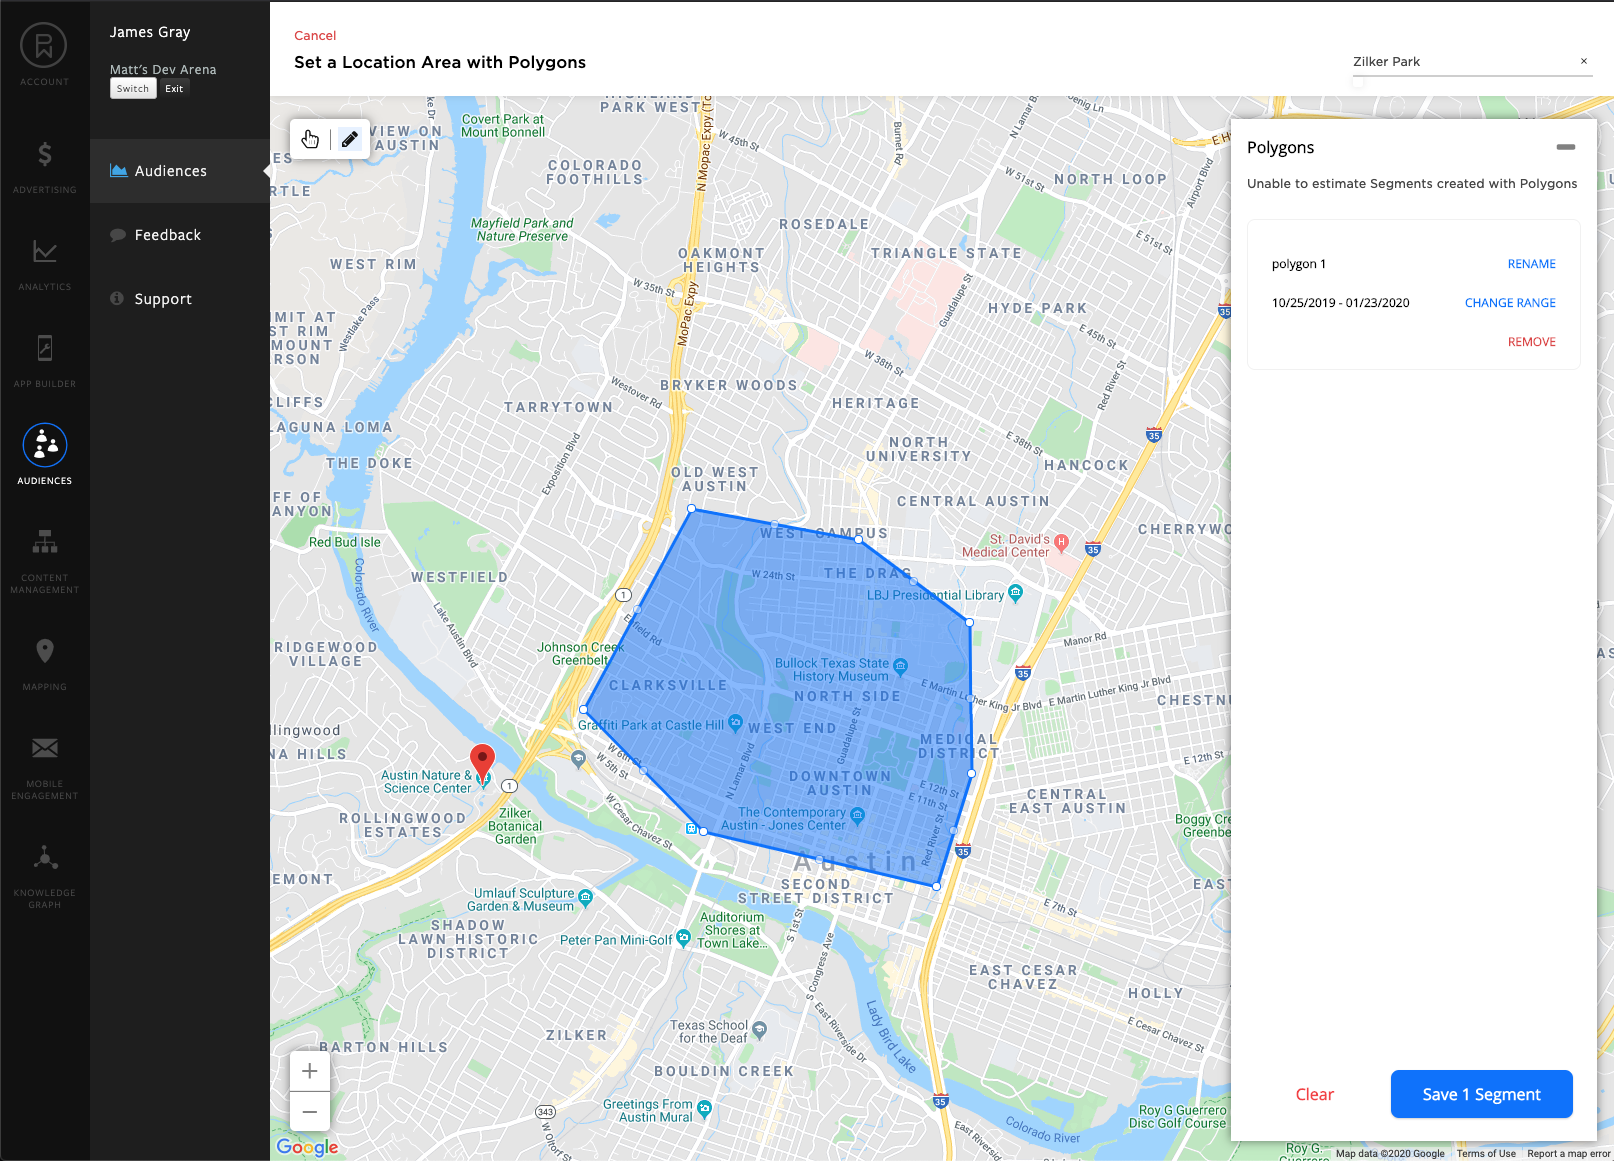
A default name and 90-day lookback window will be set by default. These can be set for each polygon by clicking on the "rename" and "change range" labels on the Polygon design surface.
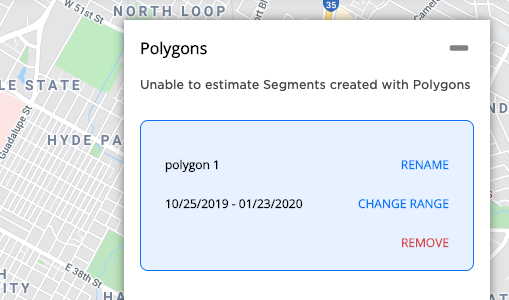
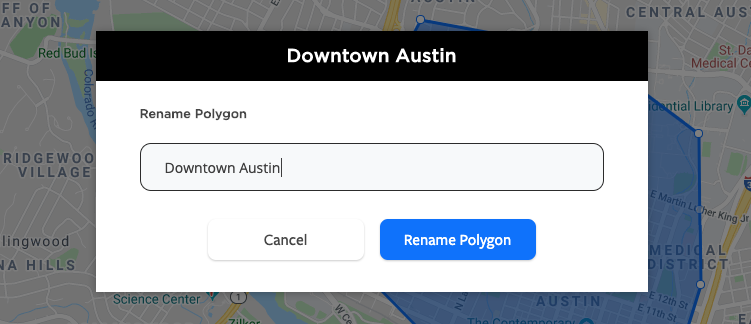
In the modal below, "polygon 1" is renamed to "Downtown Austin"
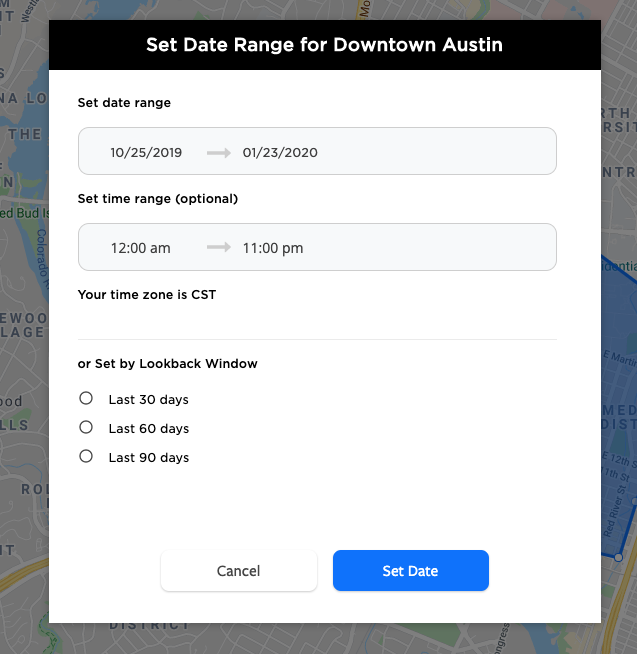
Clicking on "CHANGE RANGE" will enable the calendar date and time of day to be set. A set lookback window of 30, 60 or 90 days can also be selected.
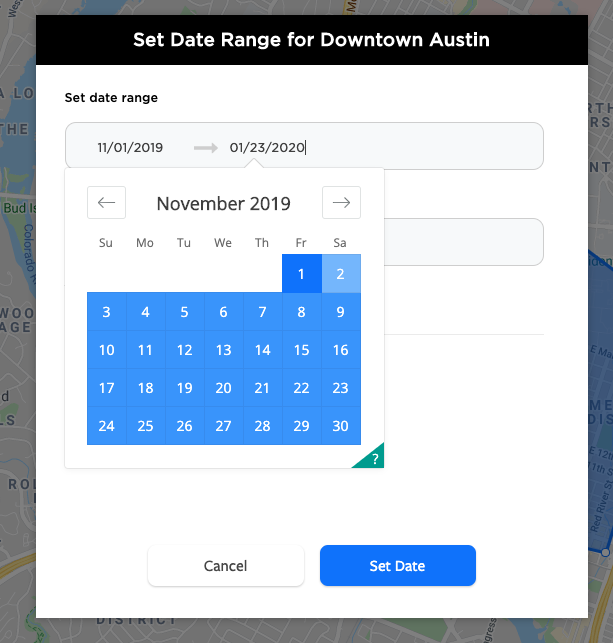
Click a date (e.g., "10/25/2019") in the set date range modal to launch a monthly calendar view. Click on a calendar day to select the start date or end date.
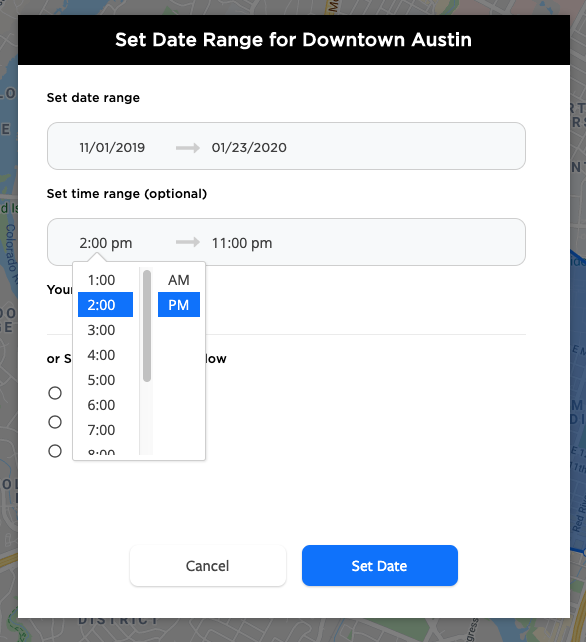
Click the start or end time in the "Set time range (optional)" section to set a time window to a particular hour of the day.
This process can be repeated to add multiple polygons to the audience configuration. In the example below, a second polygon "The Triangle" was configured and added to the list of the polygon on the right pane.
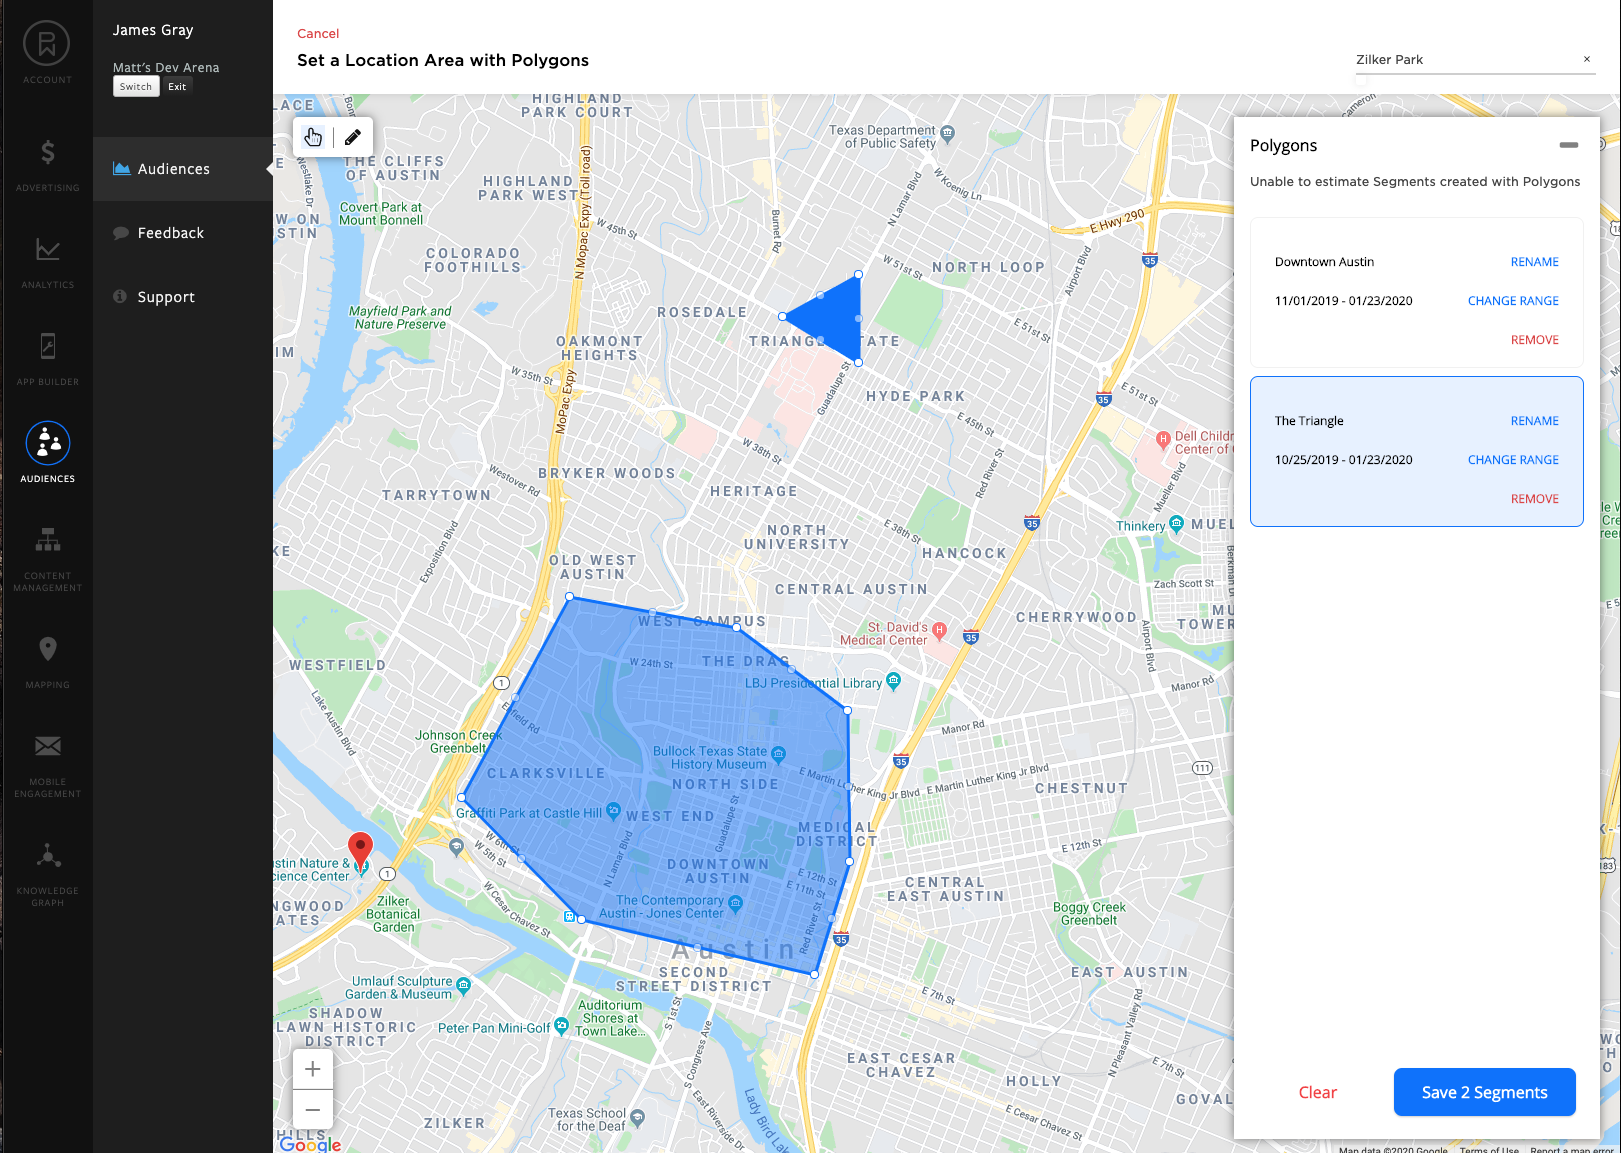
Once the polygon configuration is complete, click the "Save x Segments" button in the lower right to save the audience definition.
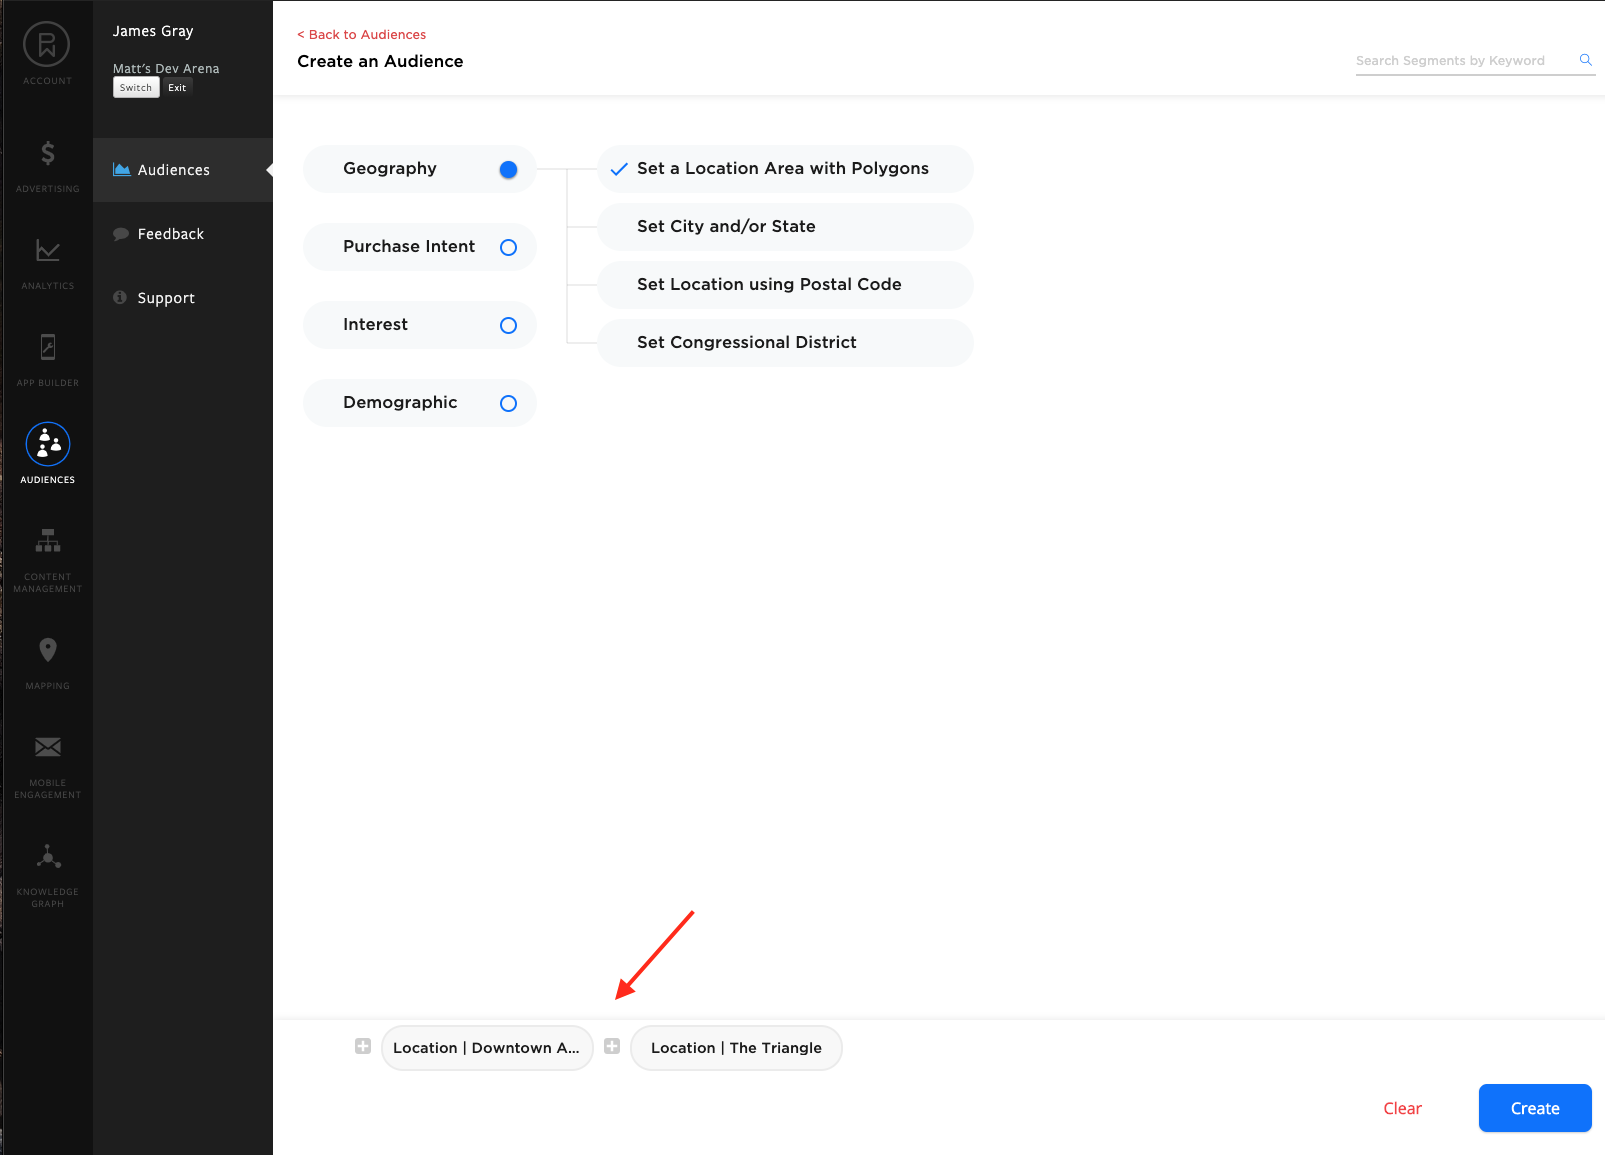
Another convenient feature to configure polygons is to start by entering a specific address or place into the "Search for location" text box in the upper right. For example, entering "Zilker Botanical Garden" and hitting enter will navigate the map to Zilker Park in Austin, TX. As you navigate to the map, crosshairs will appear that will be used to select the points that define the polygon.
Click the map to specify the starting point of the boundary and continue clicking until the boundary is closed. Click "Save as Segment" to save the boundary design.
Audience Design Using City / State
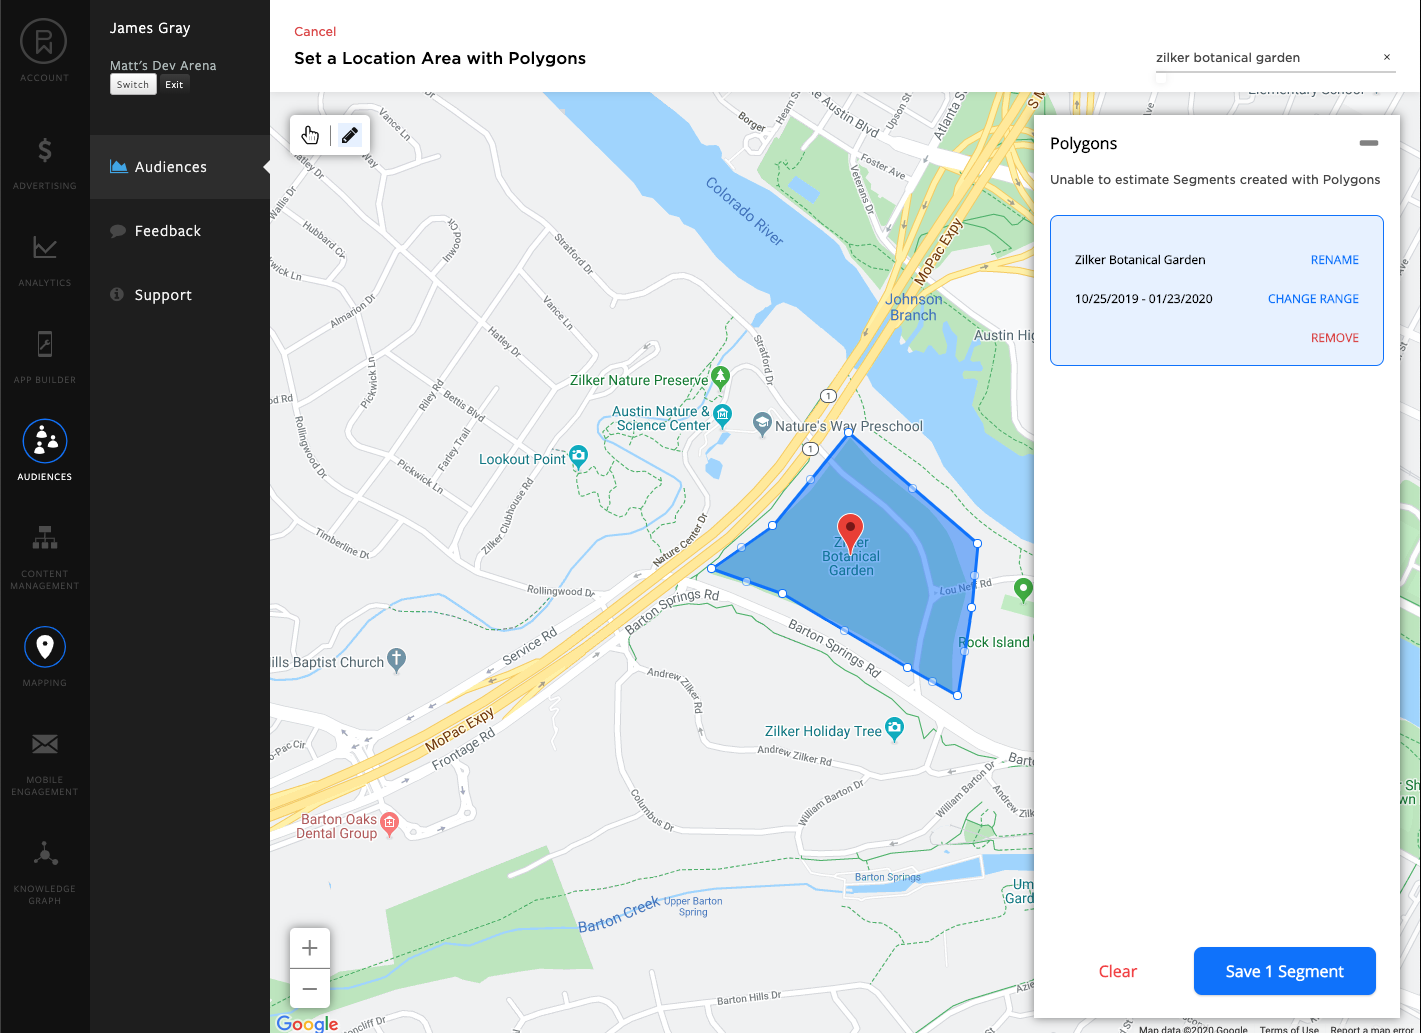
Select "City State and/or State" to initiate the audience design.
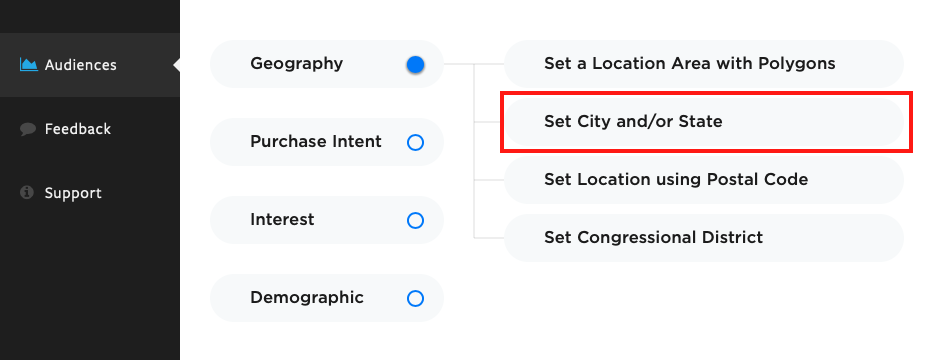
A State or City can be selected as requirements for the audience.
Click the "Set a location by State" to view and select a U.S. State. Add a State to the audience design by clicking "Save as Segment".
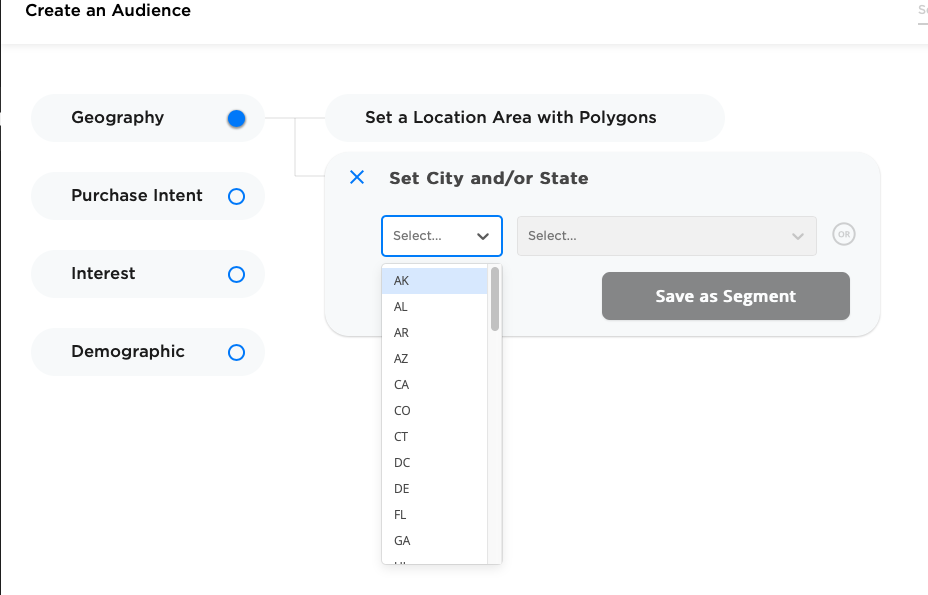
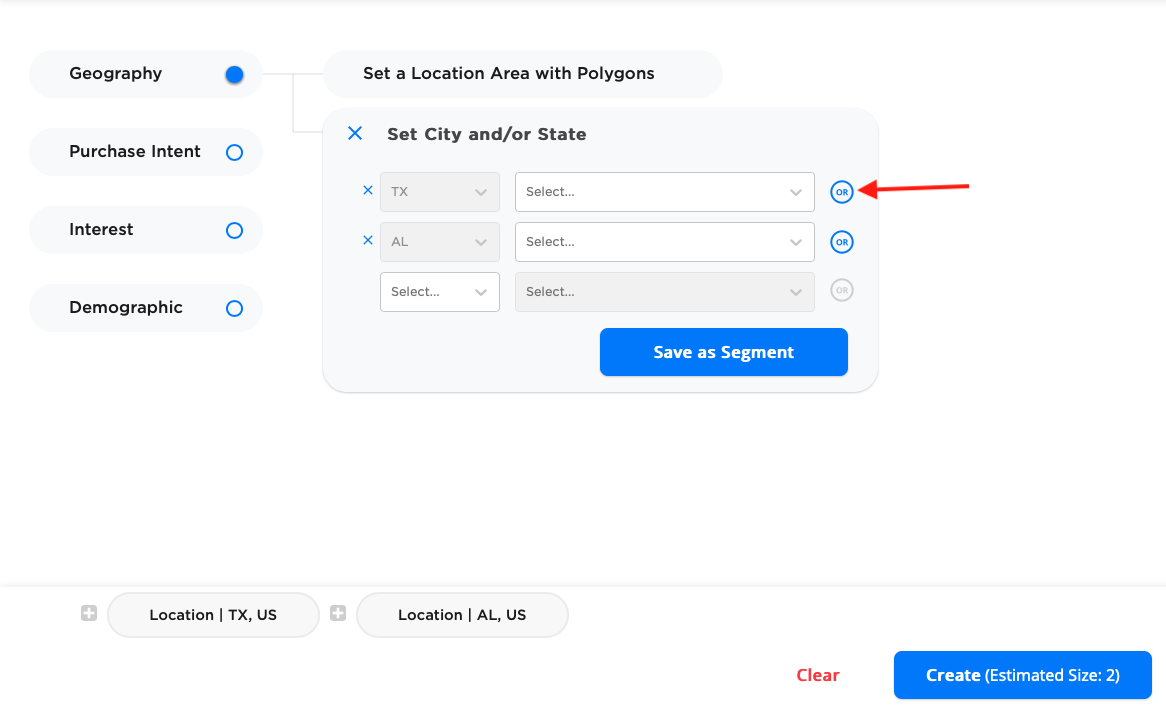
Multiple states can be selected by adding the first state and then clicking the "OR" button to add a new line for the next state. In the example, below the audience will include mobile devices with activity in Texas or Alabama.
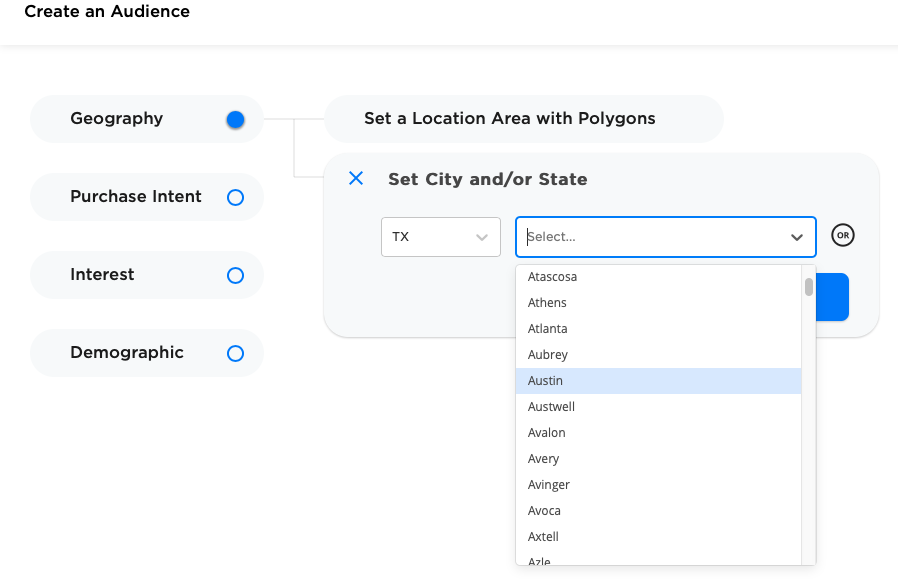
To select a City, first browse the list of States and select the State where the City is located. This will populate the "Select..." pick list to the right of the State where you can select a City. Click Save as Segment to add the City to the audience design.
Click the "OR" icon to add another city.
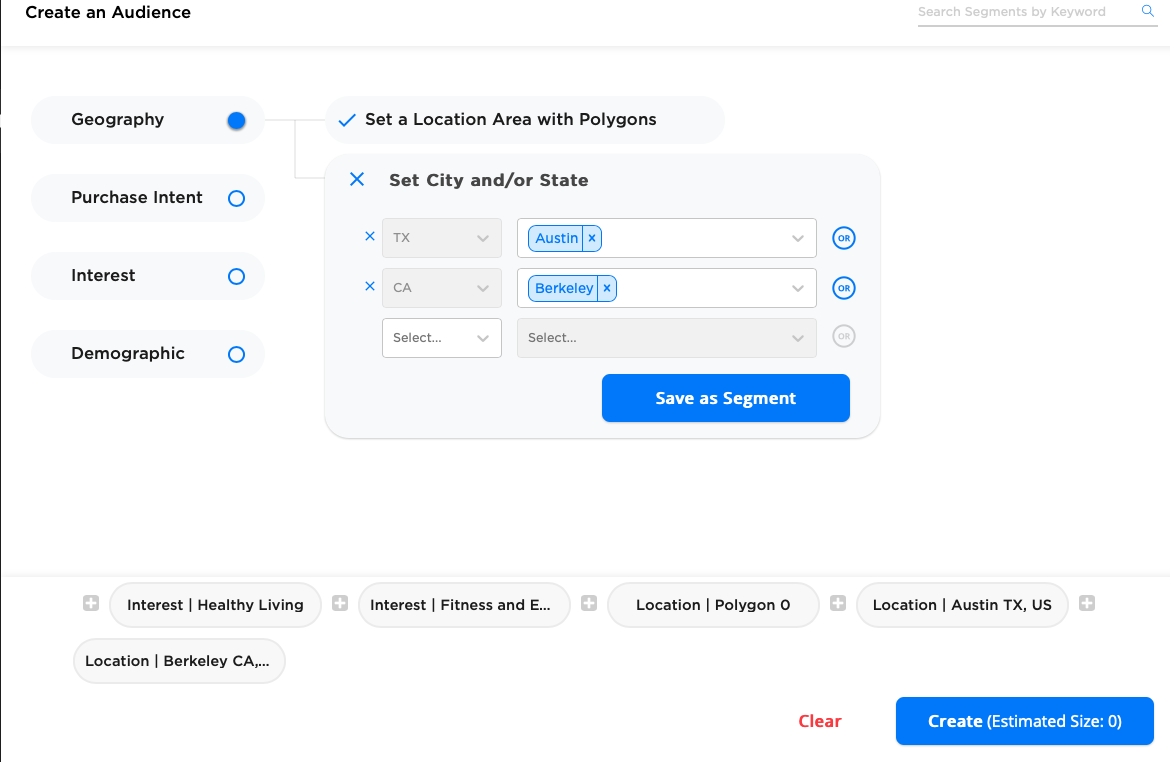
In the example above, the audience derived will include devices with location activity in the state of Texas OR Berkeley, California.
Audience Design Using Postal Code
An audience can be derived based on device location activity within a postal code. Click the "Set Location using Postal Code" to select a postal code.
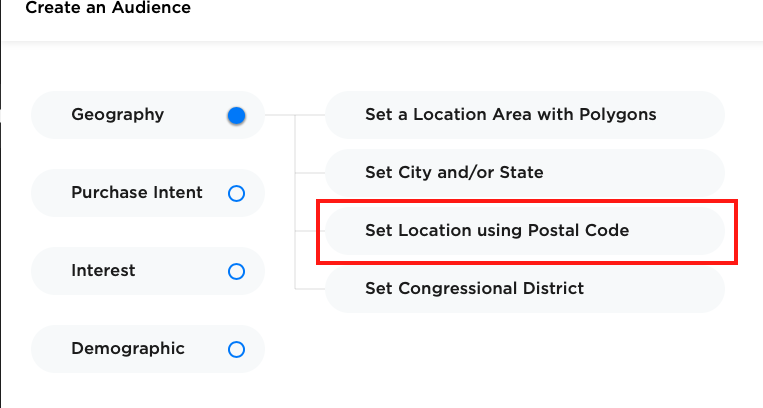
Enter the numeric postal code in the text box or scroll through the pick list to select the postal code of interest. "Click "Save as Segment" to add the postal code to the audience design.
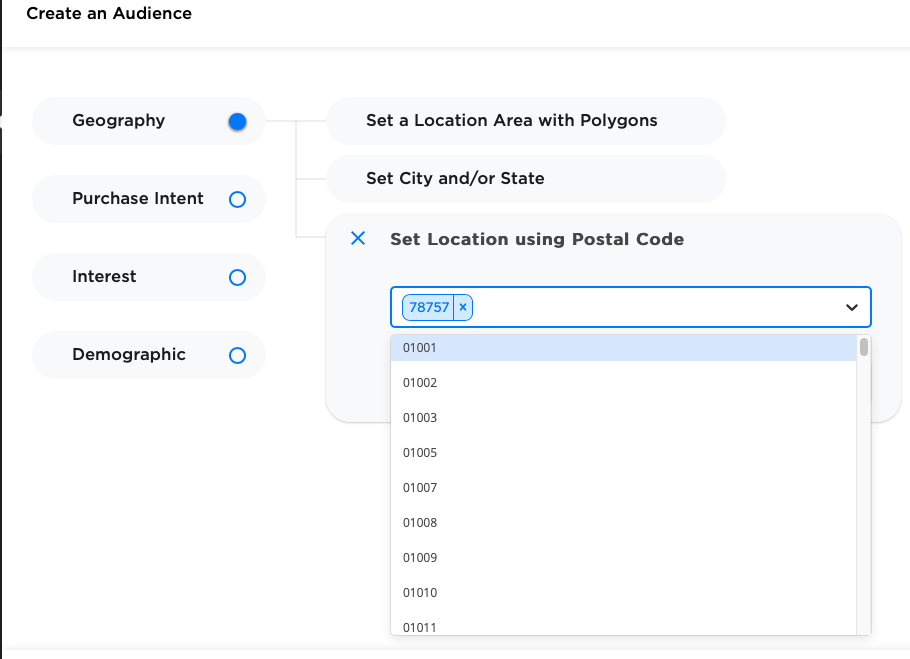
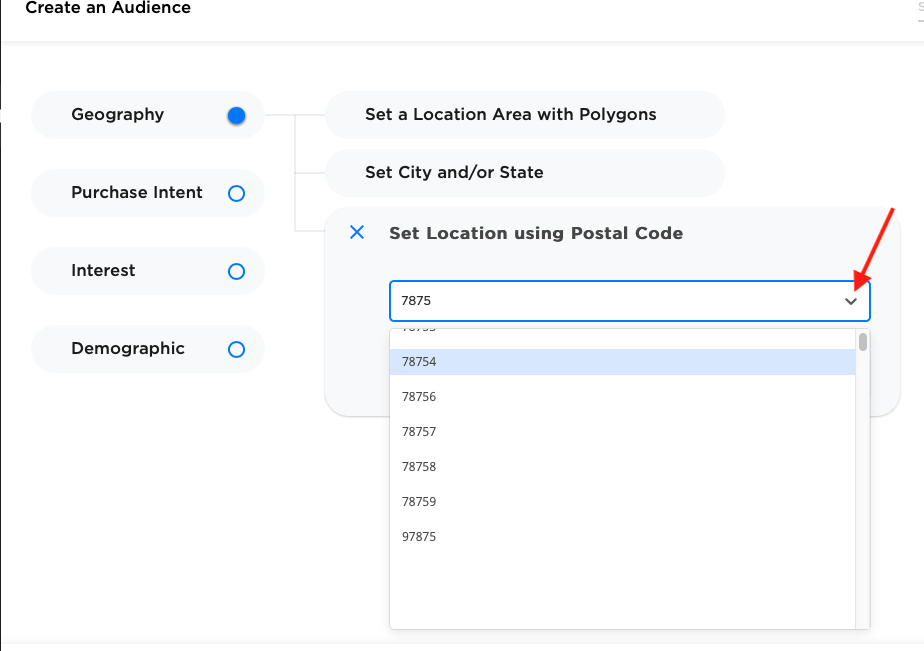
Multiple postal codes can be added to the audience design by clicking on the picklist down arrow to present the postal code list.
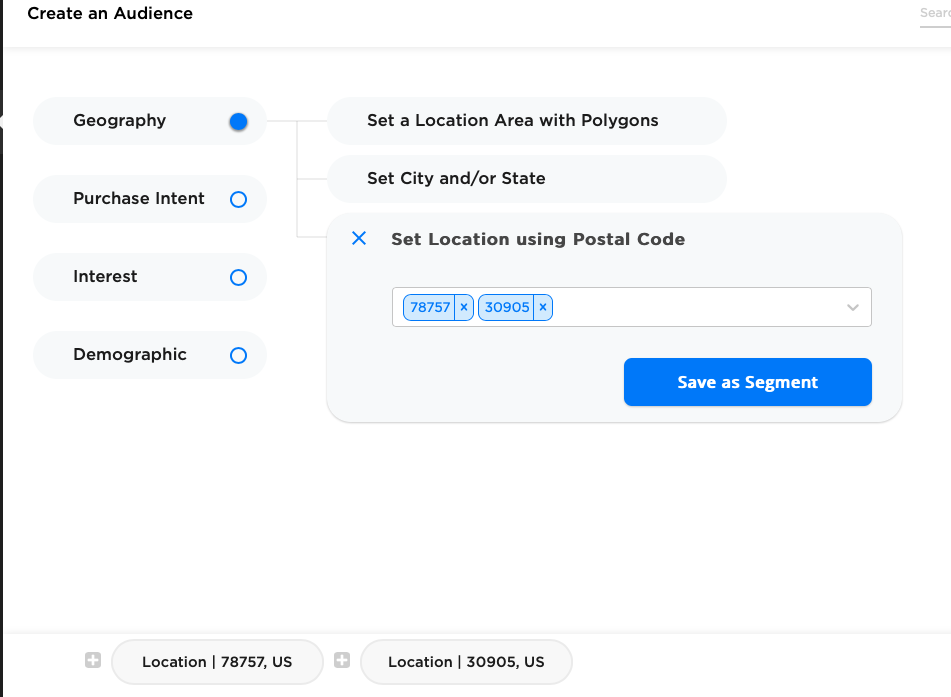
Click the "Save as Segment" button to added the postal codes to the design.
Audience Design Using Congressional Districts
Political advertisers can optimize media spend by targeting people by U.S. Congressional Districts (116th). All districts are organized by state with geographical boundaries provided by the Census Bureau.
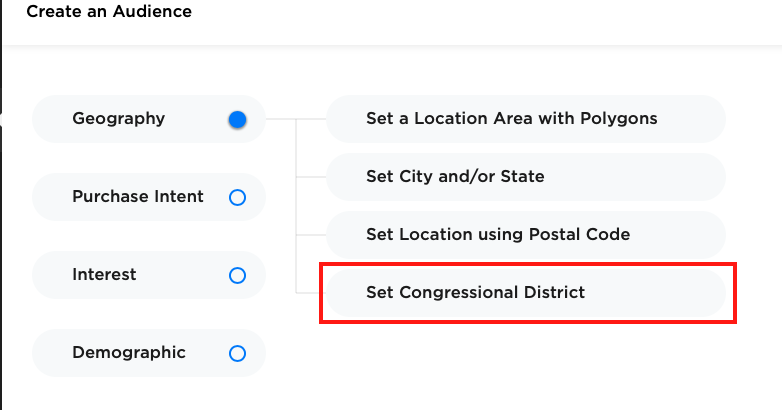
Audiences can be designed using one or more congressional districts. Select the state of interest from the picklist and this will provide a list of districts for the state.
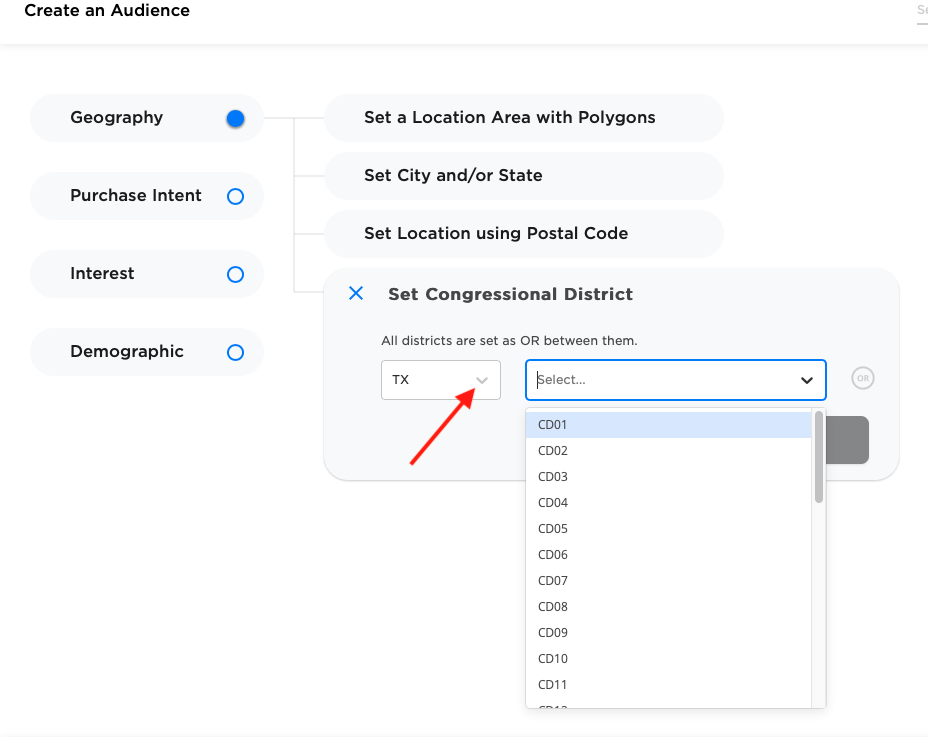
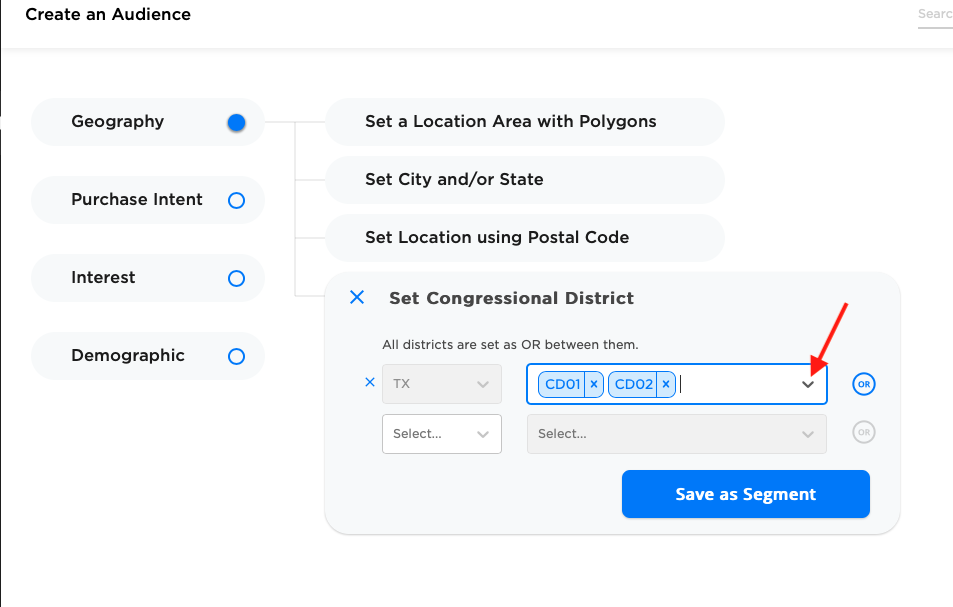
Multiple congressional districts for a state can be selected by clicking on the picklist down arrow.
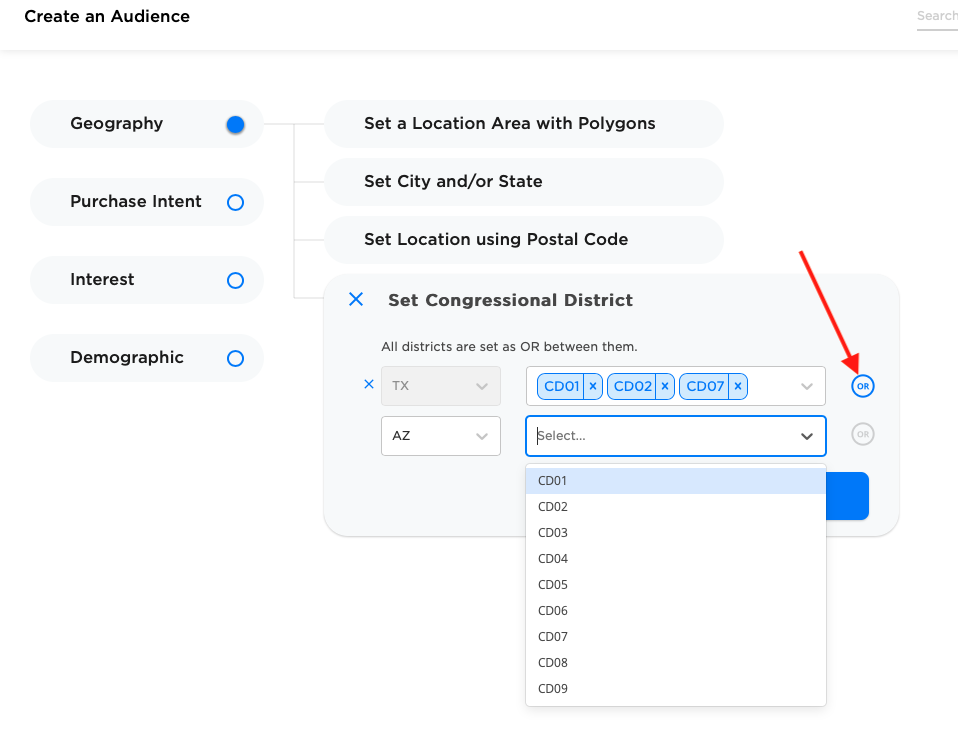
Congressional districts across multiple states can be selected by clicking on the OR button.
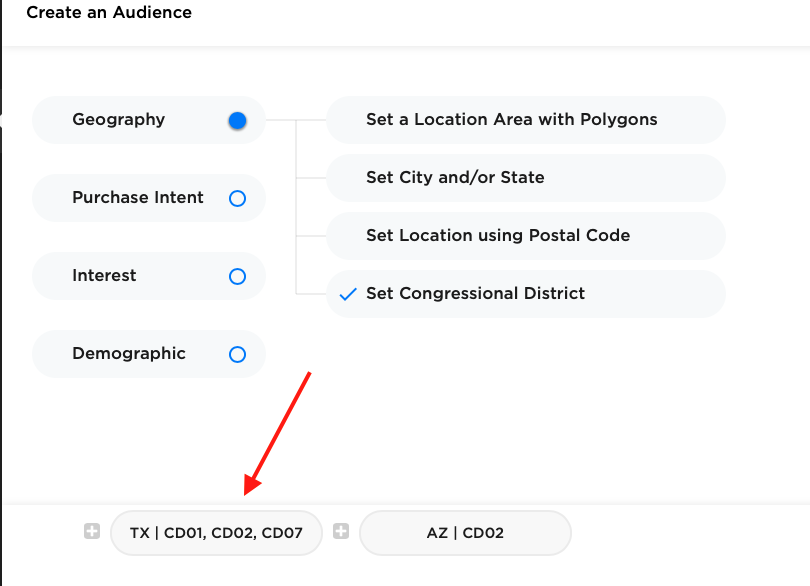
Save the save the congressional districts by clicking on the "Save as Segment" button. This will save it to the bottom of the audience design canvas.
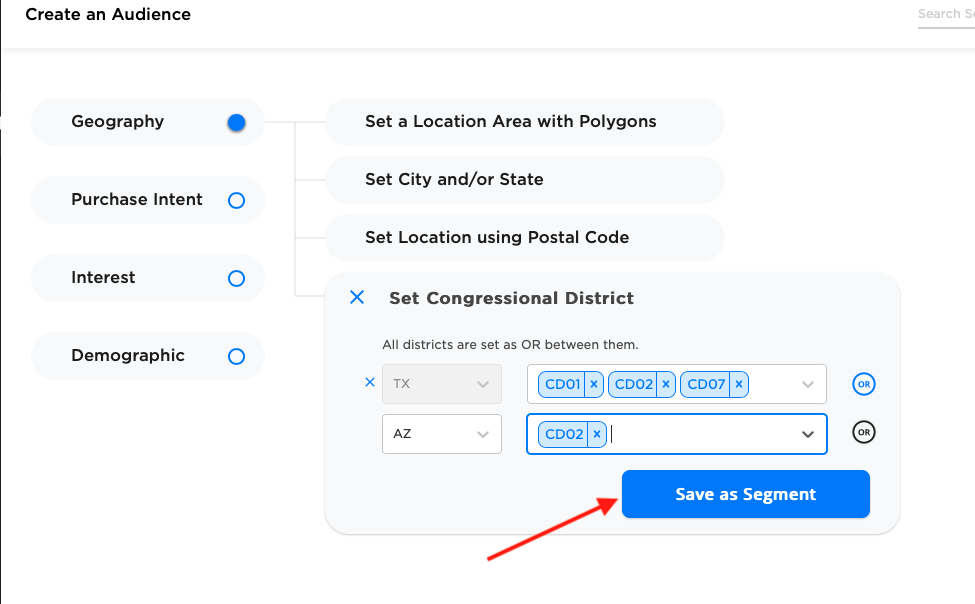
In this example, the audience will include mobile devices with location activity within Texas "CD01" OR "CD02" OR "CD07" OR Arizona "CD02"
Updated about 6 years ago
